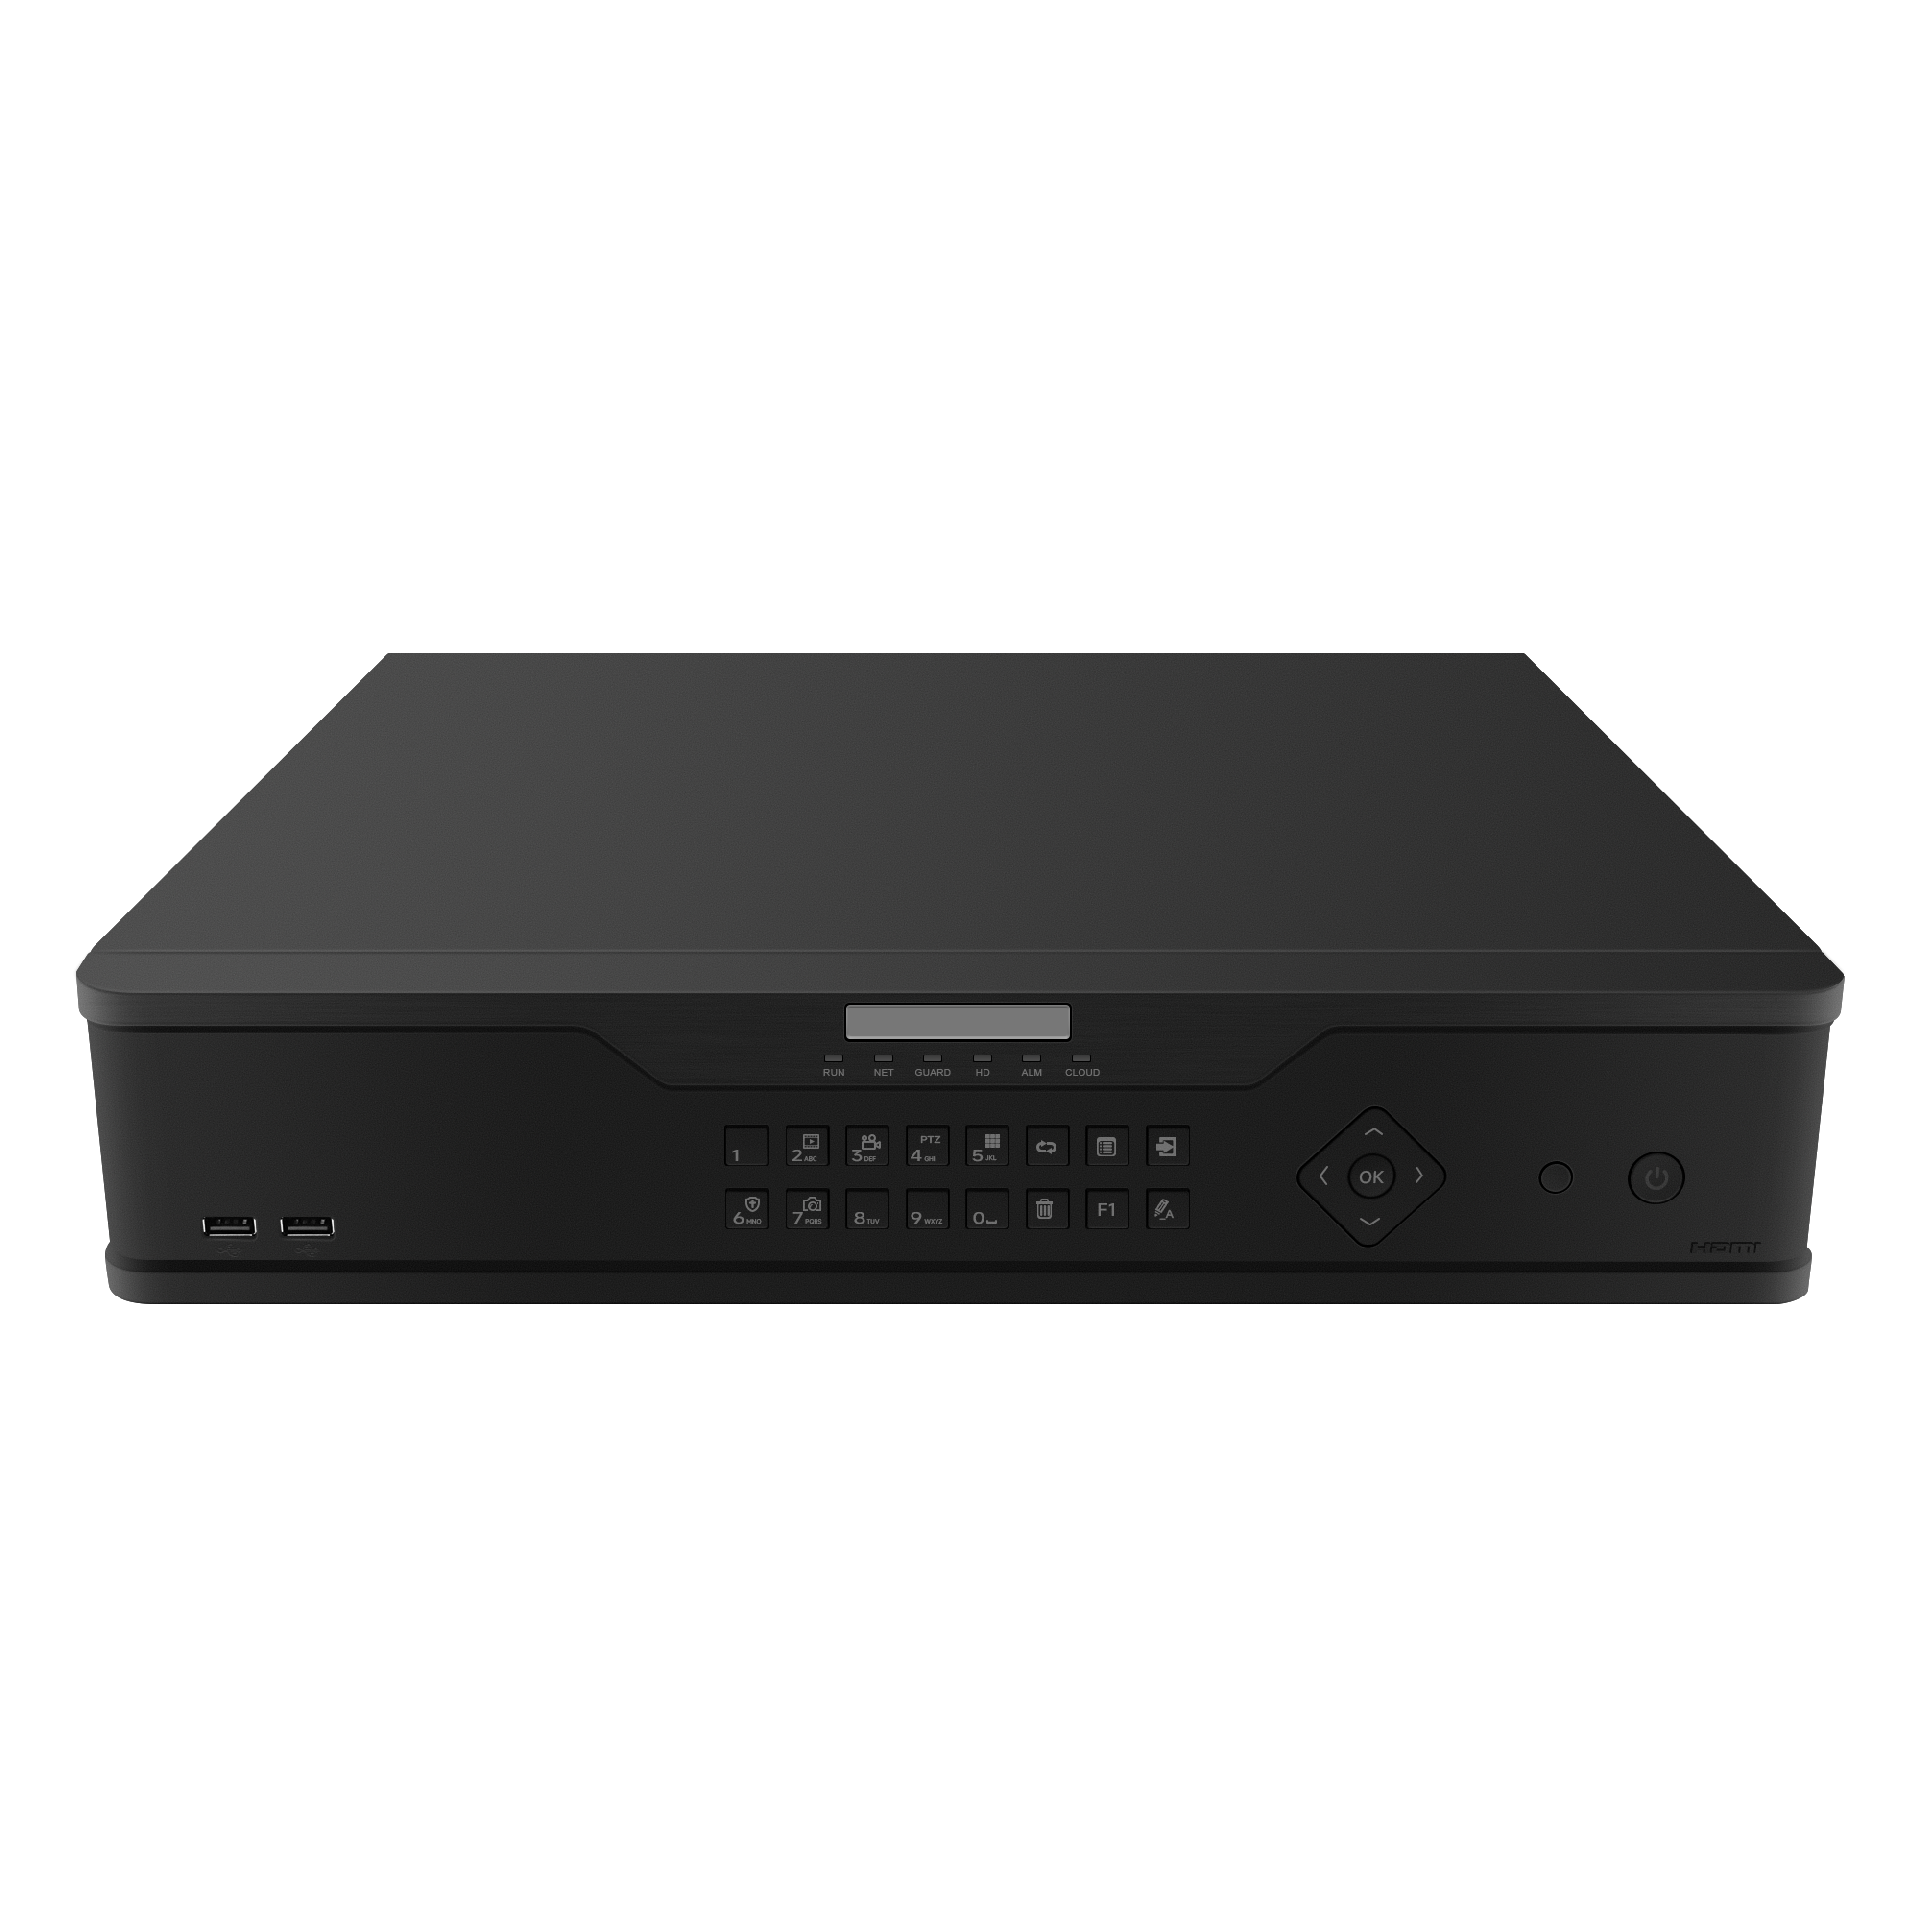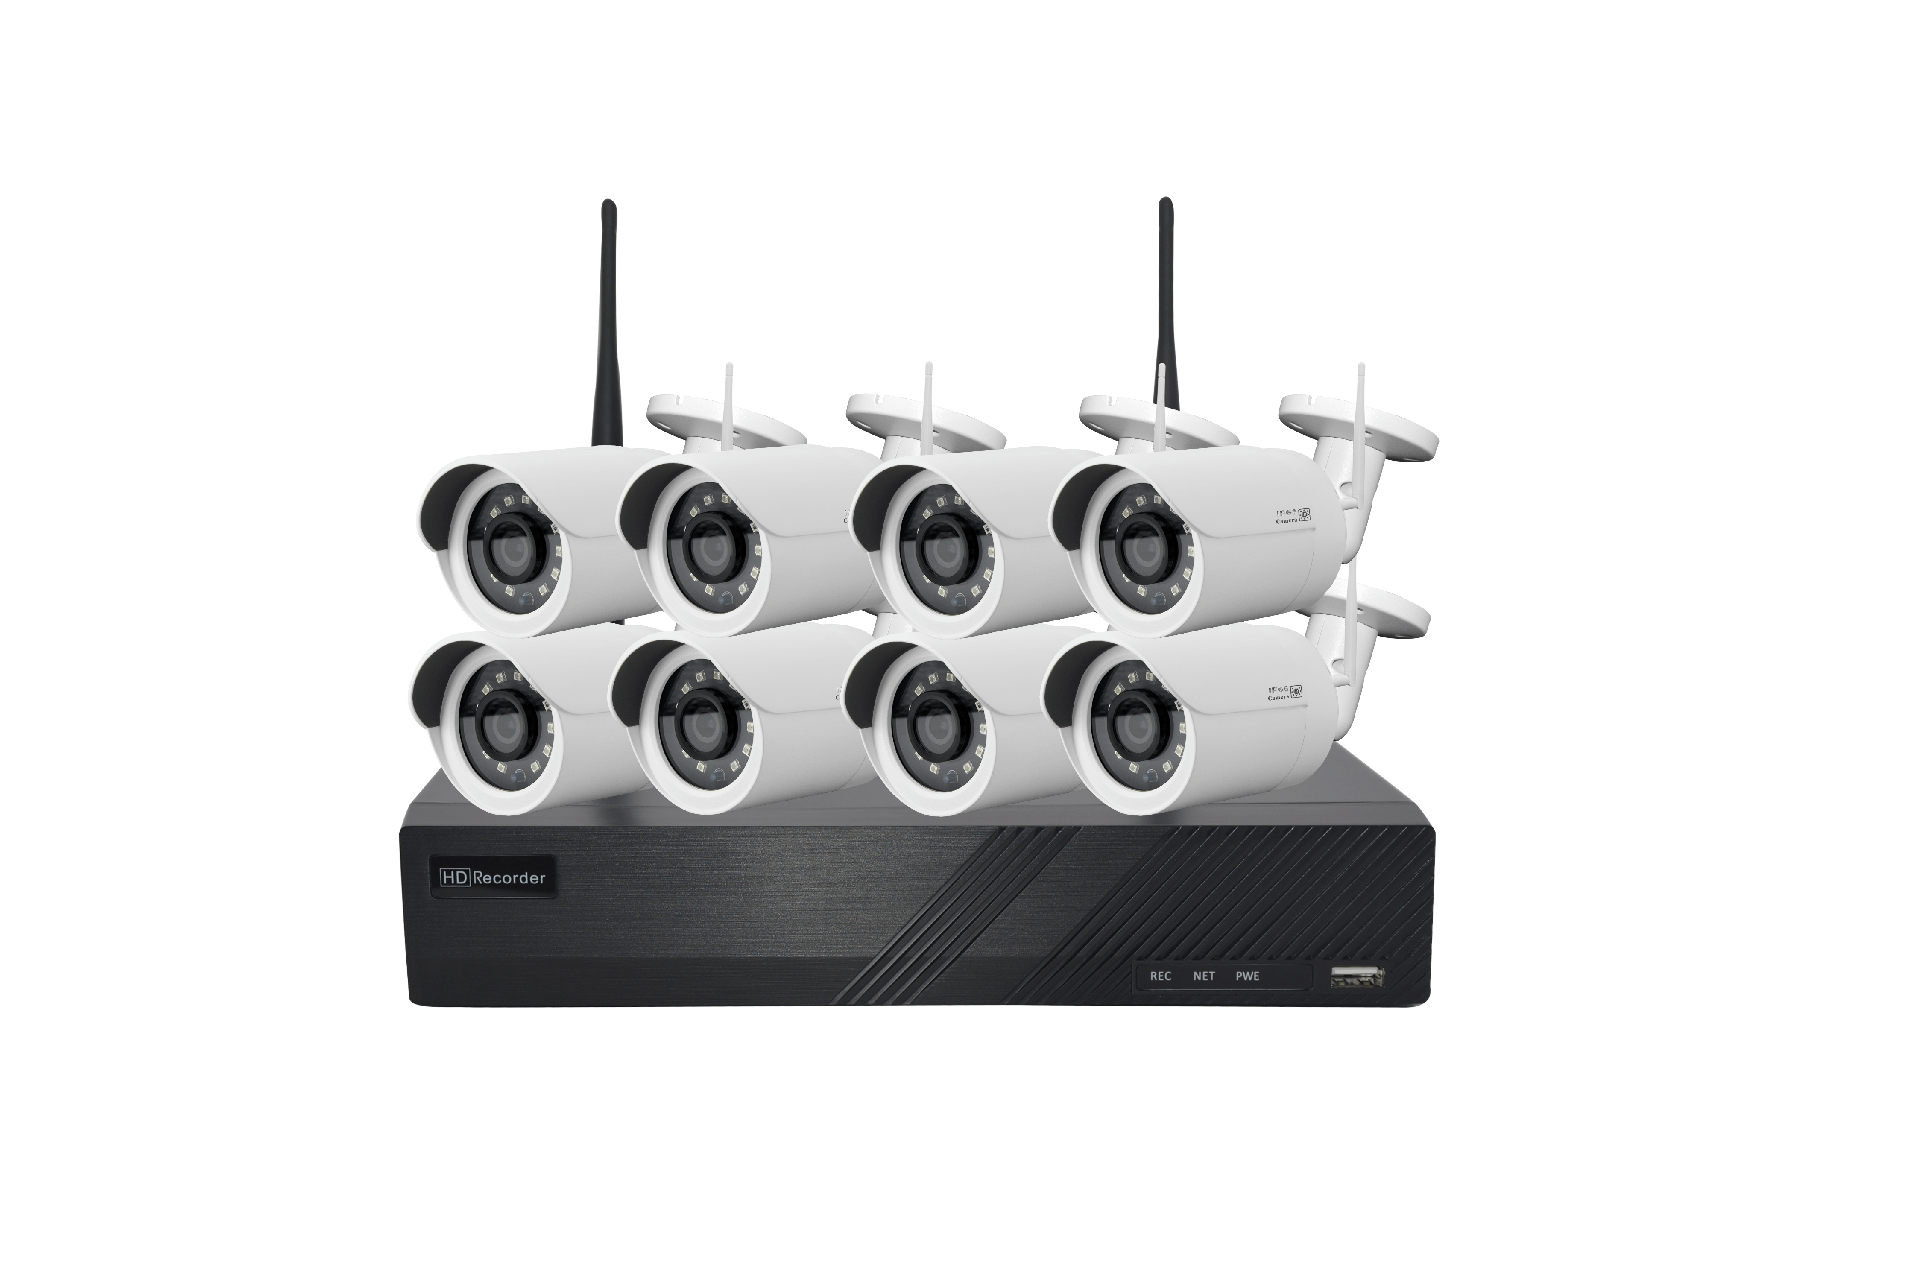

1. Working With PoE NVR (refer to figure 1)
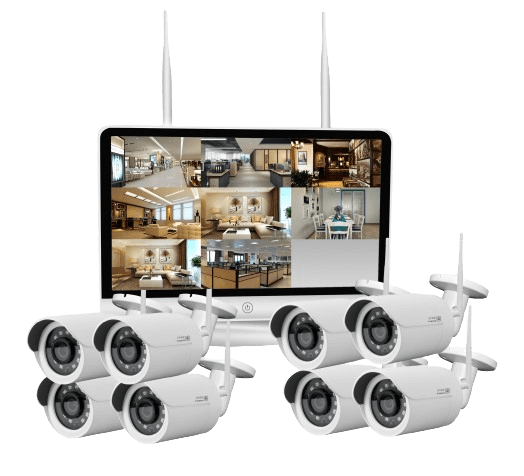
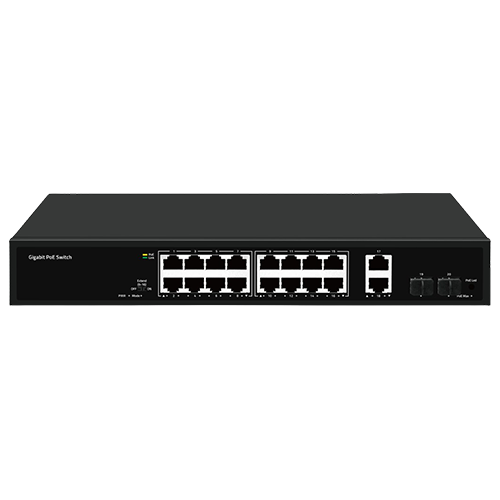
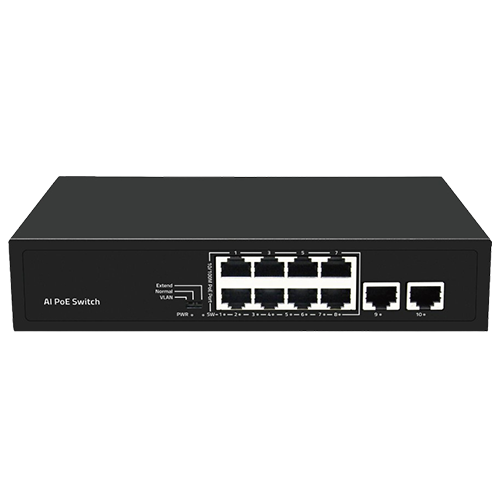
2. Working With PoE switch and NVR (refer to figure 2)
1. Obtaining IP settings automatically by DHCP
This series camera’s default network configuration is DHCP mode, you can get IP settings assigned automatically from the LAN router or DHCP server, otherwise, the camera will set its own IP address to 192.168.0.123 in a few seconds for local access. The camera will save the obtained IP settings to static configuration after 24 hours continous running to keep your system working more stable.
2. Assigning camera IP address manually
If you prefer to assign camera IP address manually, you’d better confirm the IP network planning and avoid IP address conflict. Steps on Local Area Windows 10 PC : Search Windows -> cmd -> ipconfig /all Default IP address: 192.168.0.123, if the camera is installed to work with the local switch or router directly, the camera IP range should be 192.168.1.x (x=2-254).
type in the IP camera’s IP address in Internet Explorer’s URL bar to gain access to the login page. Firefox ESR and IE are perfect supported. You can also use Chrome , Edge, Firefox ,safari to access the camera, but it maybe less smooth than IE because lack of the webplugin support.
From the login page, select your familiar language, then log in with the username and password.(Default user name: admin, Password: 123456.)
Install Web Plug-in when red line characters prompted. You may have to download WEBConfig.exe and run it as administrator. After installation, restart or refresh your web browser and allow the WEBConfig to run. The live video will start automatically after login successfully.
1. Configuration > Camera > Image > OSD > Title Messag
a. Select your Time Zone, and click PC Sync. Set up your DST (Daylight Savings Time) if needed , click Save. (Time and date will reset to 2000-01-01 if camera restarts without NVR connected or memory card installed)
2. Configuration > System > Time setup
There are two time update modes available, Manual and NTP.
b. If the camera is connected to the Internet, you can set up a NTP server for the camera to sync the time and date automatically.
Configuration > Network > P2P
Using the P2P ID and QR code, you can access the camera remotely anywhere via smart phone with Internet access. Please register an account via mobile phone after installing the Danale APP from Apple Store or Google Play , then log in and add your camera to start previewing.
Visit the Apple Store or the Google Play Store to download the Danale app for iOS or Android devices. For first time use, please create a new account by following the steps below:
1. For new users, please tap CREATE NEW ACCOUNT to register an account.
2. Type in your mobile phone number or email address, then tap NEXT .
3. Check your SMS or Email for the verification code, then tap NEXT .
4. Tap + to Add devices
5. Tap QR Code to add to get into the scan camera QR code page, or click NEXT to discover the connected local LAN IP camera.
6. Put the IP camera QR code in the app effective scan area, and then give a nickname for the recognized camera.
7. Tap the camera list to start live video.
The IP camera supports standard ONVIF protocol and it can be added to third-party video recorder. Before pairing cameras to the NVR, make sure the NVR and cameras have valid and matching IP address scheme.
Note: Some of the PoE NVR supports Plug & play, which allows you to get video without manually search and add. if Plug & play feature is not available or not compatible, please follow the NVR manual steps and select ONVIF protocol as the paring protocol. (camera default password: 123456)
If the POE NVR can not discover the connected camera or can not display the camera video , please check it’s internal POE interface IP configuration and make sure all connected cameras and NVR POE interface are in the same subnet scheme.

ceo@ycxcctv.com

+86-755-89392258

6th Floor 3 Building,Jianghao Industrial Park,Jihua Road,Bantian, Shenzhen,China
![]()
Copyright © 2023 Shenzhen YCX Electronics Co., Ltd. All Rights Reserved.